Getting Started with Emulation – Importing Disk Images
In the previous blog post we have introduced the Docker-based EaaS Desktop application and we have briefly showed how to create a new disk image and install an operating system. Since an installation “from scratch” is not always possible or desired, EaaS supports importing existing disk images from various sources.
Before we introduce EaaS image import workflows, some quick tips for working with our Docker images:
- all our Docker images are nightly builds from our GIT release-branch; we recommend to update frequently (we try hard not to break existing installation, however, you should not update productive installations without a backup)
- to backup your data, settings etc., create a copy of your eaas working directory
- to backup the current EaaS Docker
- tag the current instance, e.g. run “
docker image tag eaas/eaas-desktop backup-nov27" - to start the backup instance, edit
docker-compose.yamland changeservices.eaas.imagefromeaas/eaas-desktopto the new tag (herebackup-nov27)
- tag the current instance, e.g. run “
- to update your current EaaS instance, run
docker-compose pull. If an update is available it will be downloaded and can be started with “docker-compose up"
Hint: for the following examples, an updated EaaS desktop instance is required.
Importing Images
Importing an external image poses two difficulties for the EaaS framework: firstly, a suitable virtual machine (i.e. emulator) has to be associated with the image and secondly, the image might require adaptation to the new hardware to function properly and sometimes to start. In order to simplify these tasks for users, EaaS provides templates representing generic computer systems and provide a valid emulator configuration for EaaS.
Preparations
Before importing images, templates should be provided/updated. Example templates are maintained in a dedicated GIT repository. A snapshot of the repository can be downloaded as a ZIP-file. Download / clone the example templates and copy the content to image-archive/meta-data/template. Importing or updating templates should be done before the EaaS service is started. If templates are updated during runtime, reload of the image archive is necessary (Admin-UI -> Settings -> Sync Image Archive).
Some images/emulators require additional ROM files. In order to provide and use user-provided ROM files, in a first step the docker-compose.yaml file needs to be extended. Under volumes, an additional line needs to be added
- ./roms:/eaas/roms
All ROMs can be stored there. In any emulator configuration rom files can be referred to as
rom://my-example-rom.file
assuming that the roms folder contains a file with exactly that name.
Import Disk Images
To import an existing image, choose a computer system from available templates, enter the desired environment label / name (Environment Name) and provide a reference to the image file. If the value is a http:// URL the image will be downloaded. Alternatively, if only a file name is given, the image is expected to be present the import folder of the EaaS working directory. Supported disk image file formats are:
- RAW disk images
- VirtualBox VDI
- Virtual PC disks VHD (no/limited native support – will be converted to QCOW2)
- VMware VMDK (no/limited native support – will be converted to QCOW2)
- Expert Witness Format (EnCase) EWF (limited native support – only a single image file can be imported (.E01)
- Qemu QCOW2
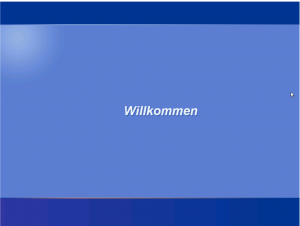
If the disk image import was successful the emulator is started and a the environment should be accessible. For this session no changes to the environment are possible. The button labled “Save Environment” saves the originally imported environment. The button “Stop” stops the import workflow and discards the imported disk image.
For instance, I found a MacOS 8.6 image at Vetusware, containing a HFV image and a suitable ROM file. To import the image, copy the image file into import folder and the ROM to the roms folder. Additionally, the emulator expects an explicit reference to the ROM file. In the case the line
rom rom://9500v1.rom
has been added to the emulators “native config”. (For experienced Sheepshaver/BasiliskII users: this line overwrites the default prefs file.) The ROM-file name and the reference should be identical; the ROM name must not contain spaces or other special characters.

Generalising Images
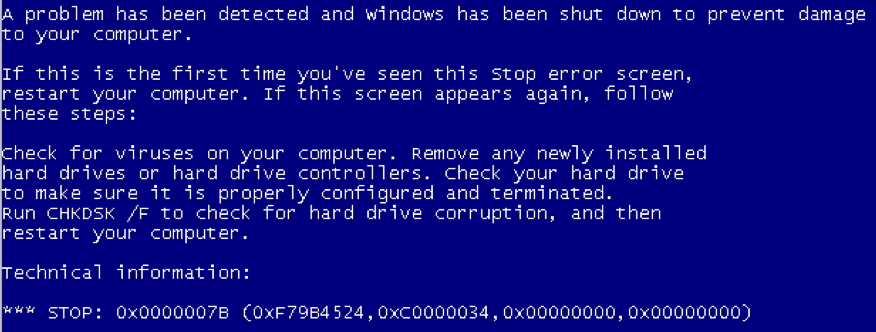
Some environments, however, are tied to their original hardware environment. For instance, an import of a typical Windows XP image will simply show a blue screen.
For complex environments, EaaS import templates provide hooks for generalization procedures. These procedures will modify a disk images such that the operating system boots into a state, where further technical adaption steps can be performed using operating system supplied tools (e.g. hardware detection etc.).
A generalization procedure looks for technical preconditions expected to be present on the disk image: properties such as volume label, system ID, and sets of files and directories. In the case of Windows XP, the bootable partition is identified by looking for Windows system directories. If all preconditions are met, the target partition is made available to the generalization procedures to carry out the configuration adaption. In case of Windows XP, the drivers of the storage controller will be changed to a basic, widely supported configuration (hardware generalization).
Every disk image is exposed read-only to emulators and generalization procedures, with a transparent writeable layer on top. Any changes to the disk image, either through the generalization procedure, operating system operations or manual interaction will be caught in the writable layer while the main disk image is not modified. These layers will be stored individually in the image-archive and will be applied by the system automatically. This also means that every modification is traceable and revertible. The next blog post will provide more details on working with images.
Update (Dec 8 17)
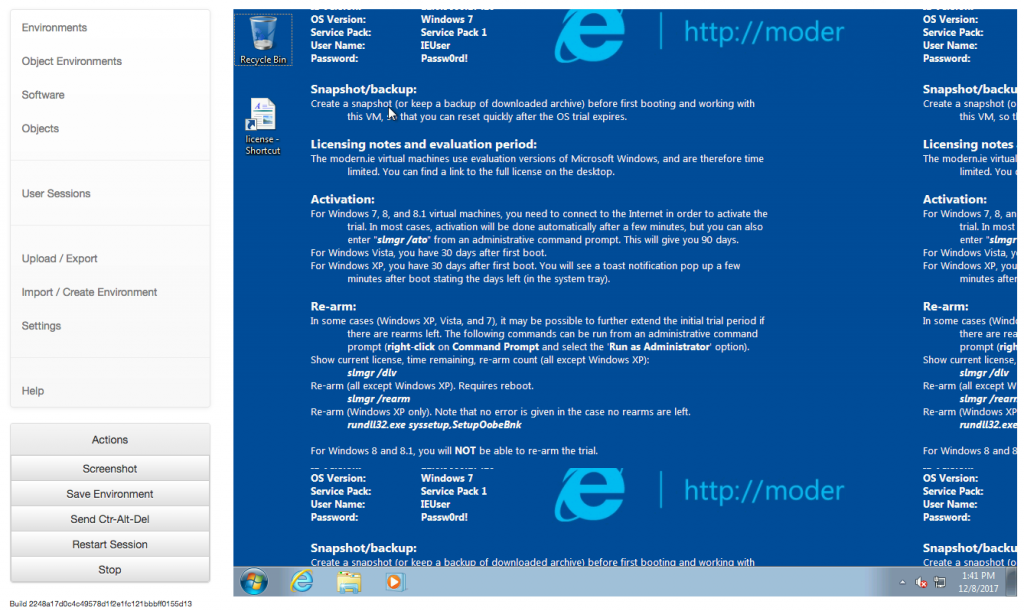
We have just added a Windows 7 template, which should work (w.r.t. hardware generalisation) with newer Windows images. For testing purposes we recommend to try Mircrosofts free test VMs. To import these images, unzip the downloaded VM. EaaS is currently not able to directly import OVA files. Fortunately, OVA files are just TAR files and can be extracted with “tar x <ova-file>”. Lookout for the extracted image file (e.g. VMDK). Remove spaces from the file name and copy/move it to the import folder. Import may take some time, depending on your machine’s disk performance, up to 30-60 minutes for such large VMs.